...hello loves!
i have returned again
to share my chair makeover
here it is in all it's lovely splendor
i have returned again
to share my chair makeover
here it is in all it's lovely splendor
i call it the starlit chair...
now ~
perhaps,
a few of you may recall
from a
l
o
n
g
while back ~
this chair below:
i picked this baby up from a secondhand shop one day
with every intention to give it a makeover
and have been "sitting" on that project ever since
LOL!!!
ok
tell me you didn't see that coming?!?!
well
as i have been doing quite a few makeover projects
one day
i ripped into this one
mind you
i had never recovered a chair in my life
but thought,
i can do it, easy peasy
hahahahahahahhahahaha
ho...
...um
ripping off the fabric was a no brainer.
and removing 1001 staples
yah, ok,
it's all part of the experience
and even retying the springs wasn't so bad.
i already knew that i would be "Annie Sloan-ing"
the frame in the french linen color with a white wash
but once i got to the place of re-stapling the fabric
well now
that's a whole other story!
i chose a beautiful white linen
clean,
elegant,
timeless!
and i wanted some glamour too
(you know i have to have me some sparkle!!)
so i added rhinestone buttons
in the few tufts i put on the front-back of the chair
and i whispered my name all over this beautiful throw blanket
as soon as i saw the tiniest threads of silver woven throughout it!
the gray/blue shade was divine and
oh-so-perfect for my starlit chair
as it matched the paint i put on the walls!
now some of you know how i feel about the backs of my chairs
if you remember my "rose-mary rocking chair"
and this chair was no different
i envisioned something feminine
so naturally i thought of a corset style
just look at the shape of this chair
doesn't it just scream "corset"?!
once i had the design worked up in my mind,
i simply sewed a panel incorporating the corset
i used silk dupioni to make the corset ties out of
as i adore the luminous quality it has...
~sigh~
i love, Love, LOVE how it turned out!
after the back was finished,
i decided that i also wanted the wood parts of my starlit chair
to also display that luminous quality...
ah, hello
star-light!!
so, i went back over the waxed wood with a silver pearl polish
to which some of you may be thinking to yourself ~
i've never seen silver pearl polish.
to which i would then say
leather shoe polish!!
hey!
you should know that i am always experimenting with my supplies!!
close up of corset detail...
i desired something below my feet that would be an extension of my chair
so when i'd looked down while sitting in it,
i'd see something lovely underfoot.
i searched
EVERYWHERE
and saw
NOTHING
with "the halo" around it!
so i challenged myself
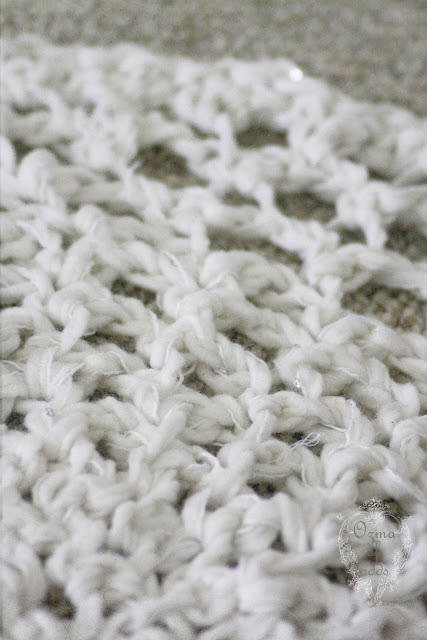
as i had been admiring those crochet doily rugs for a while,
i decided to give it a try
and crochet one myself!
after all,
how hard could it be??
so,
armed with my crochet book
and having gathering the materials that i envisioned,
beautiful wool tape yarn in the perfect shade of *milk*
i set out to crochet...
mind you,
i had also never crocheted before this project.
i just knew it was destiny!
again,
i desired a little glamour within this too
so i also incorporated sequin yarn as i was crocheted.
when you see it in person,
it has just enough glimpses of,
well ~
starlight!
i have been enjoying creating little nooks and crannies
within my current home
~ infusing bits and pieces of who i am.
and
i would encourage all of you who are timid about decorating,
to wave your magic wands
and give it a try too!
my starlit chair sits in the family room.
it is long and narrow
a most challenging and not very well lite space indeed.
so i pearled the focal wall in this room
and LOVE the results!
this is the tv component cabinet area...
i have been looking for just the right art piece to hang there...
i'm not worried,
as i know it will find me:)
these mercury candle sticks were just the right shape for me...
all curvy with a tough of glam...
they have an ombre effect to them adding interest
the tops start off a soft blue, fading down into the silver
and when a candle is lit within them, the distressed finish casts a glow
like stars in the sky!!
the open weave linen i chose
for the component cabinet and the french doors to the deck
have a shimmer to them too...
and of course,
the cabinet hardware needed to be glamorous as well!
details! details!!
the kitchen and family room
are the only rooms in the house that i painted a whisper blue/gray color
everywhere else has been given a coat of white...
i find that it reflects my white washed pieces of furniture in such a lovely light...
here is a whimsical seahorse image
from Kerrie of Seawashed
it hangs in my entry way
~ i simply adore it~
as my home is kissed with treasures from the sea
~
a reminder of a place i long to be
and have found that as i surround myself with these treasures
it's almost like i am there...
almost
thank you for visiting today!
i enjoy your company:)
sharing this post with:
french country cottage's: feathered nest friday
common ground's: be inspired friday
next time
i will be sharing about this:


